


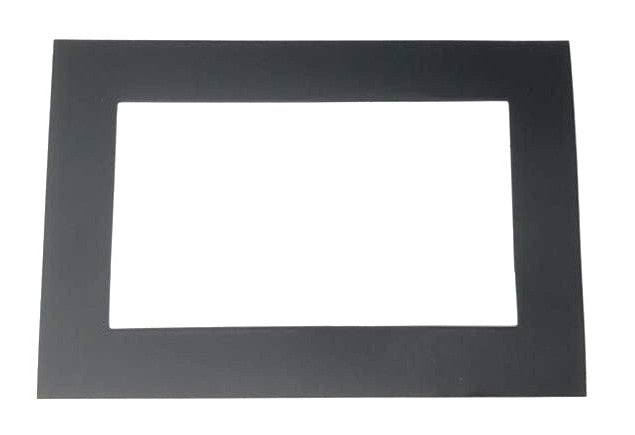
Please choose the right size for your printer!.
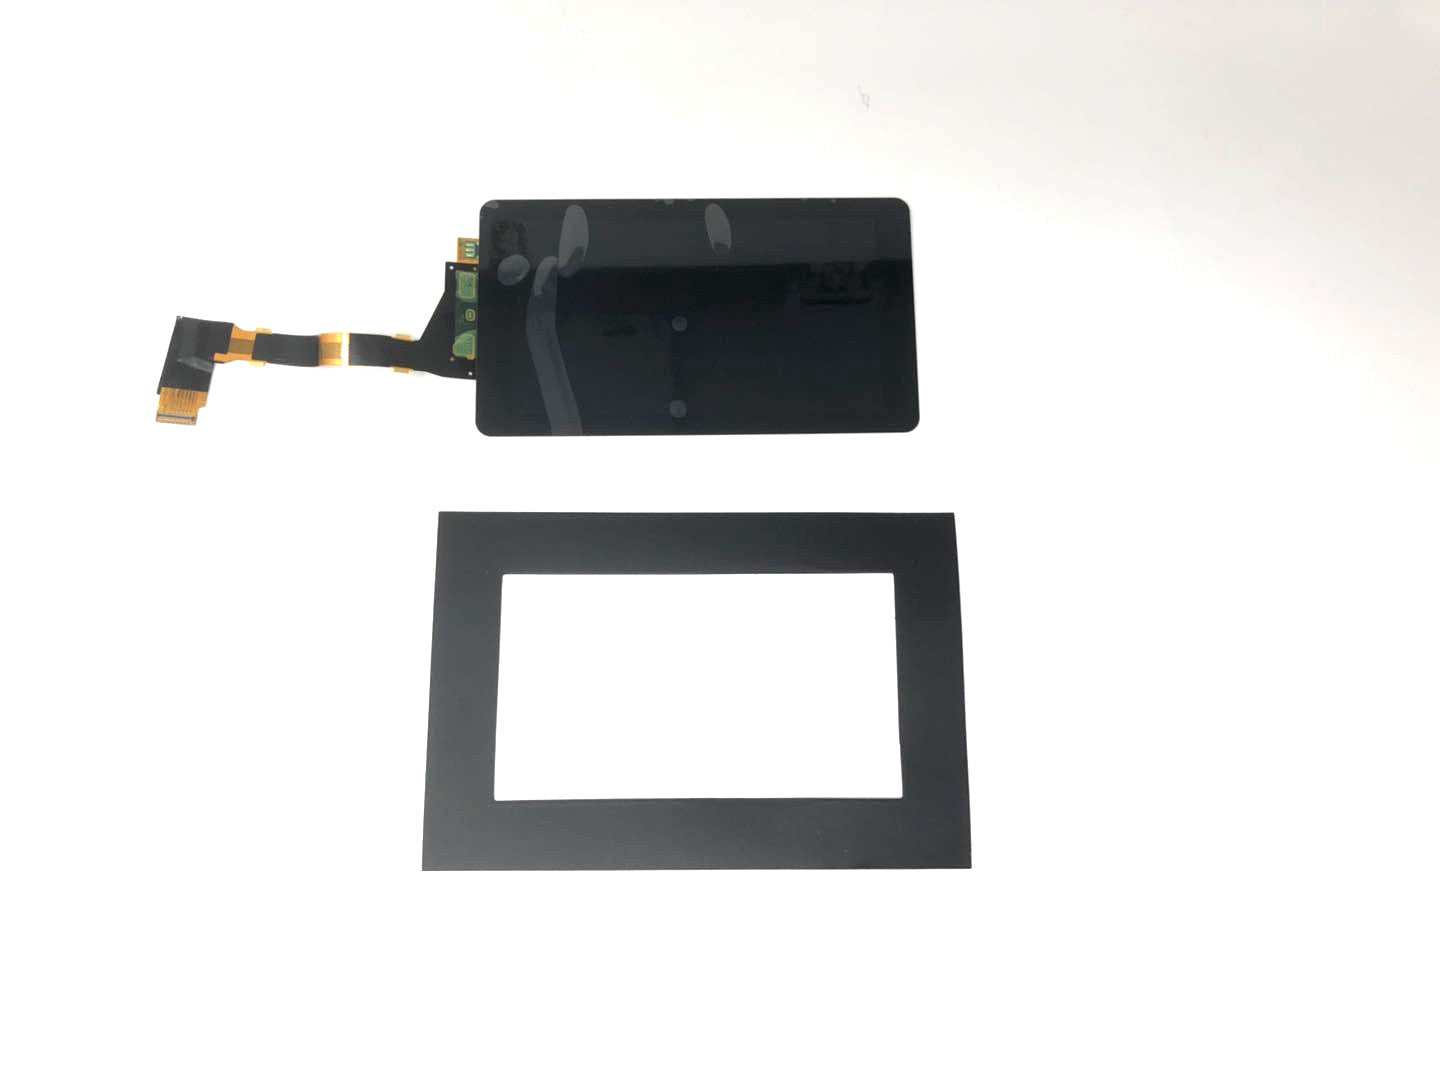
This tape should be installed on top of your LCD screen to help protect your printer from resin spills as well as hold your LCD screen in place. It will prevent any leaked resin from dripping underneath your screen and potentially damaging your printer. It will also hold your screen in place if you have to lay your printer down to perform maintenance, etc.
The 5.5" variant is cut and sized to fit EPAX X1 and X1-DJ printers. It is ready to install.
The 6" variant is cut and sized to fit EPAX X1K 6" printer and E6 printer. It is ready to install.
This is the screen tape ONLY. Replacement LCD screens must be purchased separately.
One way to apply tape to 5.5" LCD screen:
- Wear UV protective glasses. Download the 5.5" screen-edge.cbddlp file which will show you the edge of displayable screen. You can find the frame file here.
- Remove both vat and build platform. "Print" the above cbddlp file and observe the light on each side of the display area.
- Apply the pre-cut tape to the light frame so that the light frame is still seen. On each of the 4 sides there is about 1mm room of extra space so you don't necessarily need to apply the tape precisely. The tape is 2mm larger than the display area on all sides.
- Press the tape so that it is secure and even. Try to avoid creases.
- Perform an Auto-Home without the vat in place and then with the vat.
Another way to apply tape:
- Wear UV protective glasses
- Remove both vat and build platform. Select "Calibrate" on touchscreen. Use a thick cardboard to cover the displayed rectangle.
- Apply the pre-cut tape to the lighted area along the lighted edge.
- Press the tape so that it is secure and even. Try to avoid creases.
- Perform an Auto-Home without the vat in place and then with the vat.
See the video below for installation:
Here at EPAX 3D, we genuinely want you to be completely satisfied and enjoy your EPAX printer. We stand behind our printers and if something goes wrong, we are here to help.
*Please carefully read and be sure you understand the following before purchasing a printer*:
Warranty Information
New printers have a 1-year warranty that begins from the date you receive your printer. Our refurbished printers are backed by a 3-month warranty that begins from the date you receive your printer.
Please note: The LCD screen, film, pre-cut tape, filters and resin are consumable technology which are NOT covered by this warranty. The warranty is also NOT valid for international (non-USA) orders due to high shipping costs. If you are outside USA, please consider purchasing from our distributors with warranty.
All other components of the printer are covered by the warranty. In the event of defect, we will ship you replacement parts free of charge. It does not void the warranty for you to open your printer and perform maintenance. Our printers were designed to be user-friendly both inside and out.
Warranty does not cover willful damages, tears and damages due to accident, normal wear and tear, improper care, resin spills and mis-use.
If you wish to have us repair or perform maintenance on your printer for you, we are happy to do so. Y ou must cover labor costs, the round trip shipping costs and any parts not under warranty. You may use your preferred carrier with proper shipping insurance coverage.
Returns and Refunds
If for some reason you decide our printer and/or products are not for you, simply contact us within 30 days from the date of your purchase. Return shipping must be covered by the customer. We can print a label for you, however the cost of the label will be deducted from the refund.
For unopened products, a 5% processing fee will be deducted from your refund to help cover a portion of our transaction and shipping costs.
For opened/used products there is a 15% restocking / processing fee and if any parts/accessories are missing, the cost for those items will be deducted as well. Customer is responsible for ensuring a clean product is shipped back to us. Products that are shipped in poor condition (e.g. resin on a printer or still on the vat/platform) will have an additional 5% deducted from their refund.
You may opt to receive your refund in the form of store credit. In the case of unopened products the 5% processing fee will not be applied. In the case of opened products the 15% restocking/processing fee will still be applied. Refunds are only given out once one of our technicians finishes inspection on the product.
Walk-in Policy
For local printer service/repair, please send an email to sales@epax3d.com to schedule an appointment for drop-off. It typically takes two business days to get the service/repair and final test done. More days may be needed if the parts are not in stock. Before the service, we will inspect and send you a quote including the parts cost and the labor cost.